 Gina
GinaWelcome to our recipe blog, where we dive deep into the culinary arts, illuminating the finer points of home cooking. …
Nourish & Savor – Healthy Recipes That Taste Amazing
My WordPress Blog

Welcome to our recipe blog, where we dive deep into the culinary arts, illuminating the finer points of home cooking. …
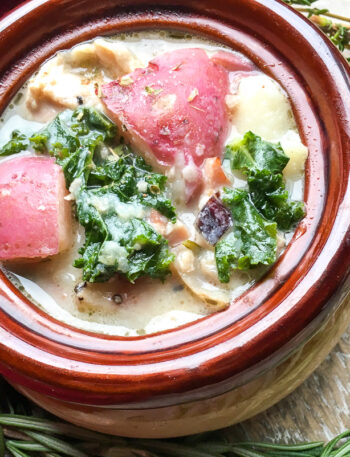
When autumn leaves begin to fall, there’s nothing quite as inviting as a warm bowl of soup. Today, we’re diving …
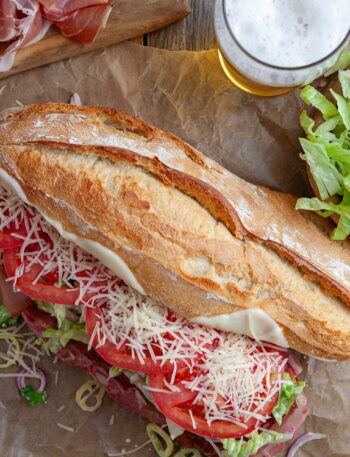
If you’re searching for a sandwich that’s packed with flavor and personality, look no further than the Toasted Italian Grinder. …

The myth that vegan eating requires a trust fund is the single biggest lie keeping people trapped in the expense …

Introduction There’s a particular kind of magic that happens in the kitchen when you whip up a comforting dessert. Nothing …
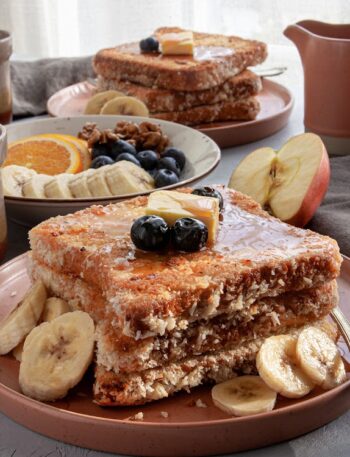
Are you looking for a delicious way to elevate your breakfast routine? Look no further than this Coconut French Toast! …
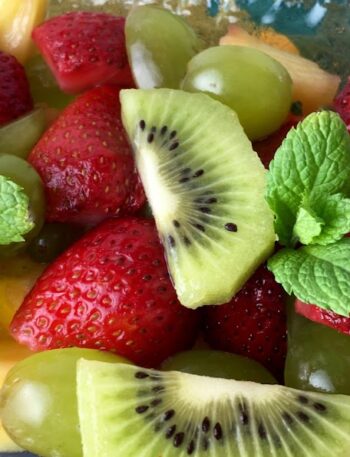
Fresh Fruit Salad with Honey-Yogurt Dip When it comes to refreshing summer dishes, nothing beats a colorful and vibrant fresh …
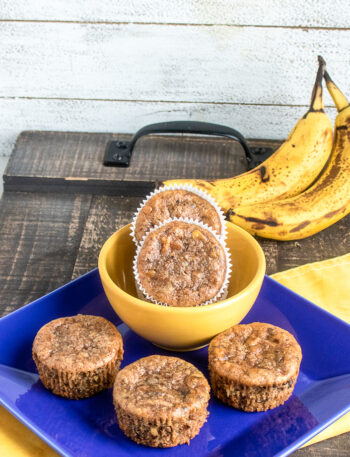
When it comes to muffins, we all want something that hits the sweet spot without compromising our health goals. Enter …
Have you ever tasted something that instantly transported you back to sun-soaked afternoons spent in charming backyards? That’s the magic …
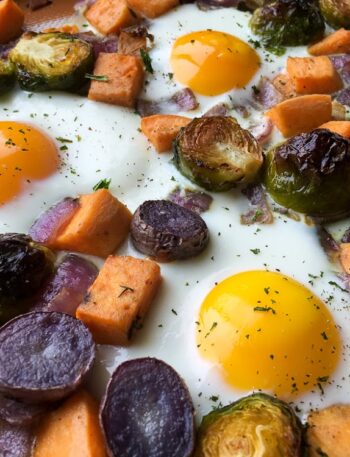
Start your mornings with a burst of vibrant colors and flavors with our delicious Sweet Potato Breakfast Hash. This recipe …